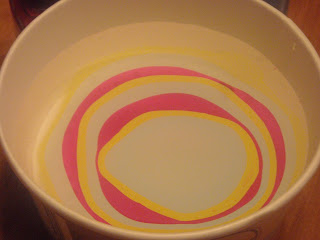
This is my second try
What I have seen is the colours turn out better if you use a white first

 These are the colours I used
The trick is to do it as fast as possible and if that isn't working as well then make sure you get some slow drying polishes to help.
So use as many drops as you want in each ring of colour as well as use as many colours as you want. taking a toothpick, orange stick, sharp pencil or anything else with a point. Drag it through the polish without touching the very outer edge. Create whatever design you want, strips, flowers, anything.
When you have the desired pattern dip the taped nail into the part you want.
While leaving the finger in. Let the polish dry a bit (like 30 seconds) and clean it up with a toothpick, q-tip etc. If you try to take out the finger before cleaning up the polish then they stuff on the water could ruin your design.
Take off the tape
Repeat on each nail
This is my first try
So the first nail I did worked out not too bad except there was a bubble on it... :P
My second nail not too bad either but it went all smudgy.
I tried 3 nails at once, but I let it dry too long on the water and I put it in with my fingers too close so the polish was all tacky and stuck in clumps to the tape and my fingers :P
Good luck


No comments:
Post a Comment